Simple AppSheet Apps Script Vertex AI Sample
Author: Christian Schalk
Dec 8, 2023
Overview
This is a combined AppSheet app and App Script project that demonstrates how to call the Vertex AI API from an Apps Script function that is called from an AppSheet automation.
The simple use case is an ‘Issue Tracker’ where a user can enter some text in long form. For example: “There is a massive power outage and all production has stopped in the factory!”.
This text is then sent to the Vertex AI (via an Apps Script function) for analysis where both a priority and summary are generated and returned back to the AppSheet app for followup.
This sample consists of:
- AppSheet ‘Issue Tracker’ user facing app
- Apps Script project with a function to call the Vertex AI API via REST.
- Google Cloud project to provide the API service. (You will create this portion of app).
Special Kudos to DerekCo for providing the initial inspiration for this sample!
Installation steps
Create a GCP Project and enable the Vertex AI API
- Sign in to the GCP Console: cloud.google.com.
- Create a new Cloud project or open one to which you have access.
- In the Google Cloud console, click: Menu > IAM & Admin > Create a Project.
- Take note of the new project’s ID for later.
- Create a new service account.
- Menu > IAM & Admin > Service Accounts
- Click + CREATE SERVICE ACCOUNT
- Enter Service account details and click CREATE AND CONTINUE.
- In the Select a role dropdown, search and select the “Vertex AI User” role and click CONTINUE and DONE.
- You will then see your new service account listed in the Service accounts page. Note the service account’s email address, you’ll need this later when setting up your Apps Script project.
- Create a JSON security key for your service account.
- In the Service accounts page listing your new account, under the column “Actions”, click Manage Keys > ADD KEY > Create new key.
- Select the JSON key type and click CREATE.
- A dialog will appear: “Private key saved to your computer”. Click CLOSE.
- On your computer, (typically in your Downloads folder) you’ll see a *****.json text file. Open this file in your preferred text editor.
- You’ll see private_key element in the form:
- "private_key": "-----BEGIN PRIVATE KEY-----\n*********\n-----END PRIVATE KEY-----\n",
- Keep this file open as you’ll need to copy the key portion into your Apps Script project in the next section.
- Enable the Vertex AI API for your project
- In the Cloud console navigate to: Menu > APIs & Services
- Click + ENABLE APIS AND SERVICES
- Search for “Vertex AI” and select Vertex AI API.
- Click ENABLE.
Your GCP project is now configured. You will need the following when setting up your Apps Script project:
- Project ID (See: Menu > Cloud Overview > Dashboard)
- Service account email address
- JSON security key
Copy and customize the sample Apps Script project
- Open the public Apps Script ‘Issue Tracker’ template project.
- Make a copy of the project by clicking on the copy button on the right side.

Feel free to rename the project.
- In the copied project, open constants.gs.
- Update the following:
- PROJECT_ID=’<your-project-id>’;
- SERVICE_ACCOUNT_EMAIL = '<your-service-account-email-here>';
- SERVICE_ACCOUNT_PRIVATE_KEY = '-----BEGIN PRIVATE KEY-----\n<your-service-account-private-key>\n-----END PRIVATE KEY-----\n';
- Save the file. Your Apps Script project is now configured.
Copy and customize the AppSheet template
- Open the public AppSheet ‘Issue Tracker’ sample.
- In the AppSheet editor (on the lower left), click Manage > Collaborate & Publish > Copy App
- In the Copy your App dialog, accept the defaults and click Copy app.
- After the app is copied, you’ll need to update the Automation to call a function in your copied Apps Script project.
- In the AppSheet editor menu, click Automation > When a new Issue…
- Click on the automation step: “Call Vertex AI via AS”
- Edit the Apps Script Project field by clicking on the Google Drive icon and locating your copy of the Apps Script project.
- After selecting your copied Apps Script project, click the Authorize button and re authenticate with your account.
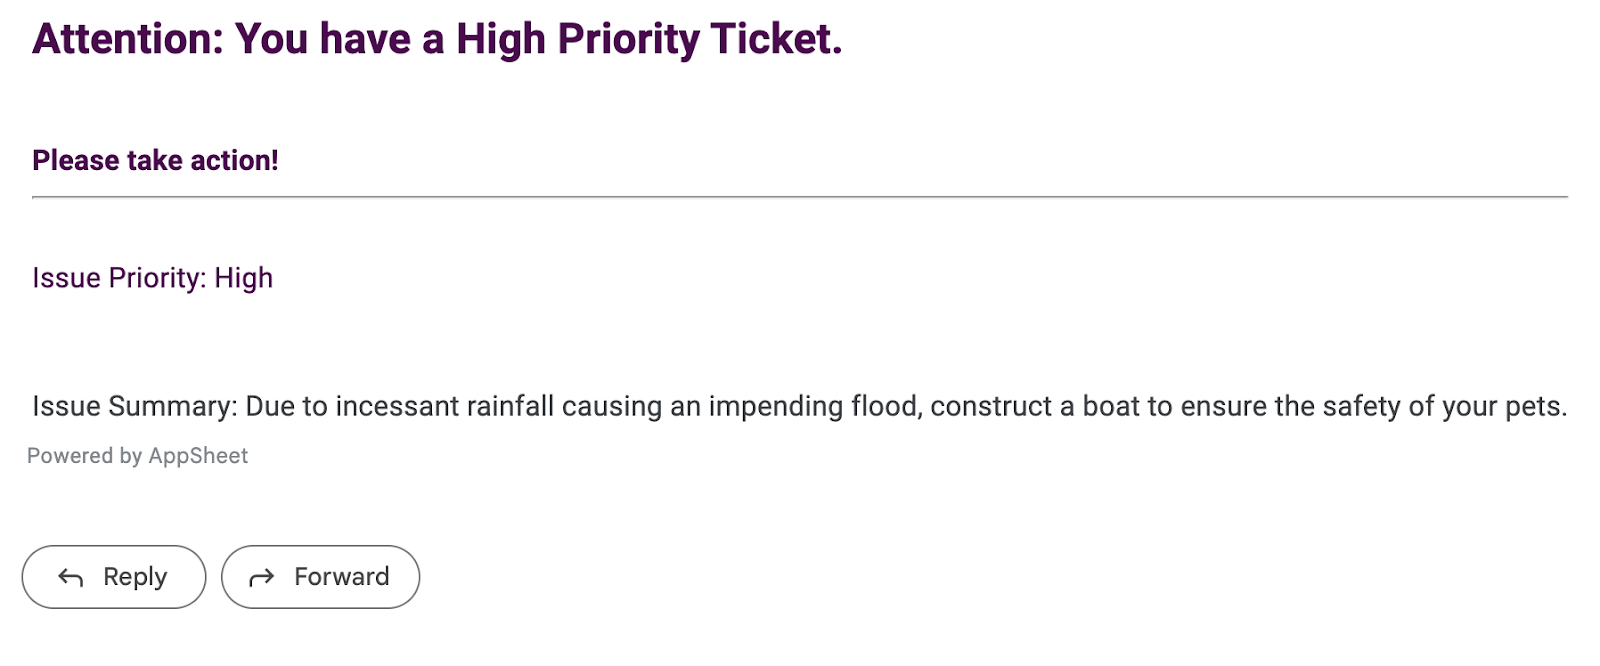
- Note: You can also see in the automation that it will also check if the returned priority from Vertex AI is ‘High’. If so, it will send an Alert email to your account.
- Click Save. Your AppSheet app is now configured.
Run the AppSheet app
Now that everything is configured, you can begin running the sample app by entering an issue.
- In the app preview on the right, click the Issues tab, and click + to enter a new issue.
Try to enter a High priority issue by using extreme language.
- Ex: ‘It won’t stop raining and a flood is coming! Build a boat and save your pets!’

- Click on the detail view of the new issue and watch as the priority and response (summary) from Vertex AI appears in a few seconds!

- If the priority was ‘High’, check your email. You’ll see a note about the issue!